TOP 5 Heat Sinks TOP 5 Low Profile Heat Sinks TOP 5 Liquid Coolers
Heatsinks by Brand / Mfgr Reviews + Articless Advanced Search
|
TOP 5 Heat Sinks TOP 5 Low Profile Heat Sinks TOP 5 Liquid Coolers Heatsinks by Brand / Mfgr Reviews + Articless Advanced Search |
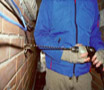
Attaching the wire: With all the lengths of Cat5 in place from the hub to their specific locations it was time to attach each to the wall. We used wire ties and clipped the Ethernet wire onto existing phone and TV cable along the side of our test location, in part to make everything look nicer, and in part to protect the Cat5 from damage.
The benefit of following existing wires comes into play here especially well. Securing the newly installed Cat-5 was made significantly easier by running it with existing wire on the outside. A couple cable ties later we were done. One important thing to note, is that when securing Ethernet cable with cable ties it is important to not crush the wires or otherwise deform the general shape. Doing so can impact the lines' signal quality. 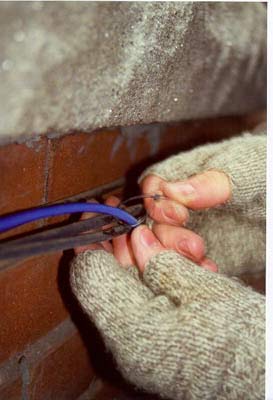 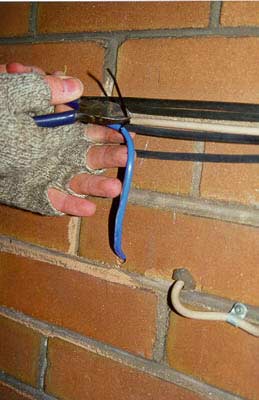
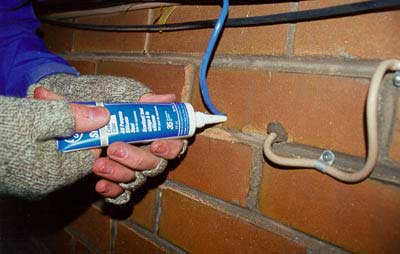
With all the wires fed through to the correct holes in the wall, and all the cable secured so it was neat and tidy it was time to seal the holes. Leaving a hole in the wall is draft maker for sure, and can be an inviting place for insects. We used a good bunch of silicon caulk, injected into the hole, and around the wire to seal things. When doing this with brick it is a good idea to blow away as much dust as you can to provide a clean surface for the caulk to grip on.
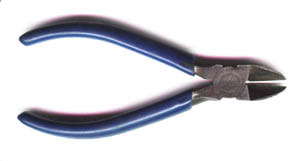
The only job left to do was on the inside. We chose to install RJ-45 jacks for patch cables to plug into rather then just leaving the length of cable lying free with an RJ-45 plug. Wire was cut to about a foot away from the wall on the inside, and the blue covering stripped off with a knife. We were careful not to over cut and damage the wires.
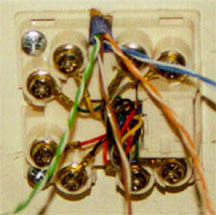
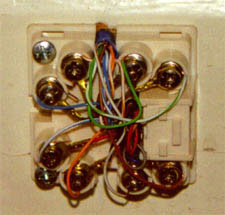
Stripping off about 1/2" of insulation from each of the eight individual wires, they were then connected to the receptacle. The best way I've found to attach a bare copper wire to a screw-in connector is either to wrap the wire around the screw in a counterclockwise direction or, slide the wire beneath a washer and then tighten. The first method will ensure that as the screw is tightened it pulls the wire in tightly, the second will securely clamp down on the wire between the washers. For a straight-through (568A type) Ethernet wire the coloured wires should be ordered in the following manner from left to right: white green, green, white-orange, blue, white-blue, orange, white-brown, brown. For a crossover cable (568B type) they should be arranged: white-orange, orange, white-green, blue, white-blue, green, white-brown, brown.
|
|
|||||||||||||||||||||||||||
|
Find a Heatsink . Latest Heatsink Reviews . Top 5 Heatsinks Tested . Top 5 Low Profile Heatsinks . Top 5 Liquid Coolers . Heatsinks by Mfgr / Brand |
Social Media |
FrostyTech.com Info . Feedback . Contact Us / Heatsink Submissions . Submit News . Privacy Policy |
 | |
© Copyright 1999-2025 www.frostytech.com All Rights Reserved. Privacy policy and Terms of Use Images © FrostyTech.com and may not be reproduced without express written permission. Current students and faculty of accredited Universities may use Frostytech images in research papers and thesis, provided each image is attributed. | ||||